


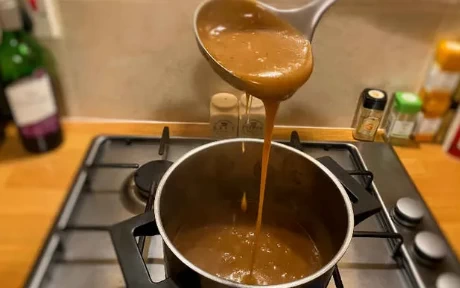


Artisan bread is all the rage today and Sourdough is often the bread of choice for the Artisan baker.
In order to make a delicious loaf of Sourdough bread you need to make some homemade Yeast, or a Sourdough Starter, and this can take some time, in fact it takes up to a week to complete this recipe.
The Sourdough Starter will go through a few stages, including a very smelly stage, but once you get past this the smell is amazing.
The great thing with making your own yeast is that you control how it develops, if you leave it cold then it will go into a state of inactivity (you can store it in the fridge) but if you keep it warm it will become very active and ready to use.
...
The History of sourdough starter can be traced back thousands of years, with evidence suggesting that ancient civilizations, such as the Egyptians, were among the first to harness the natural fermentation process.
This method involves cultivating wild yeast and lactic acid bacteria present in the environment, which, when combined with flour and water, creates a symbiotic culture capable of leavening bread.
The process is remarkably simple yet profoundly impactful, as it allows for the development of complex flavours and textures in the final product.
Over time, sourdough starter has evolved, with various regions adapting their techniques and ingredients to reflect local conditions and preferences.
This adaptability has led to a rich diversity of sourdough breads around the world, each with its unique characteristics shaped by the specific strains of yeast and bacteria that thrive in different climates and environments.
Today, the revival of interest in artisanal baking has brought sourdough starter back into the spotlight, as home bakers and professional chefs alike seek to recreate the traditional methods that have stood the test of time.
Our Shop
A sourdough starter is a type of wild yeast, it was probably created by accident when flour and water were left out in the Egyptian heat, and started to ferment.
So all you need to make wild yeast is some strong flour and water. You will also need some time, around 7 days to be precise.
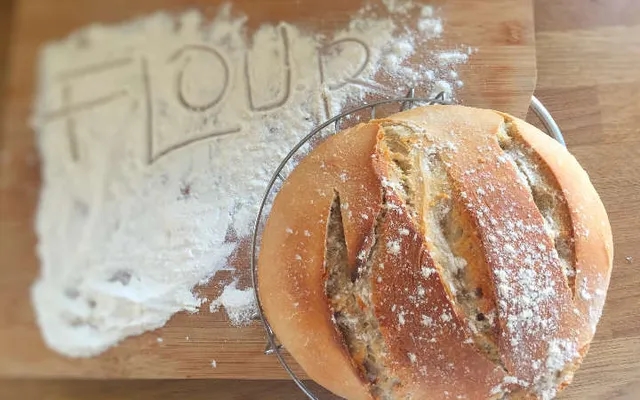
It is worth taking the time to do this properly because the starter will last for as long as you keep feeding it, and Artisan sourdough bread is the best thing since sliced bread.
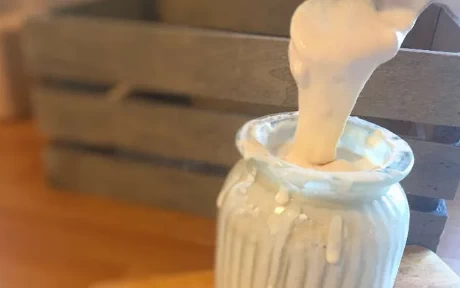
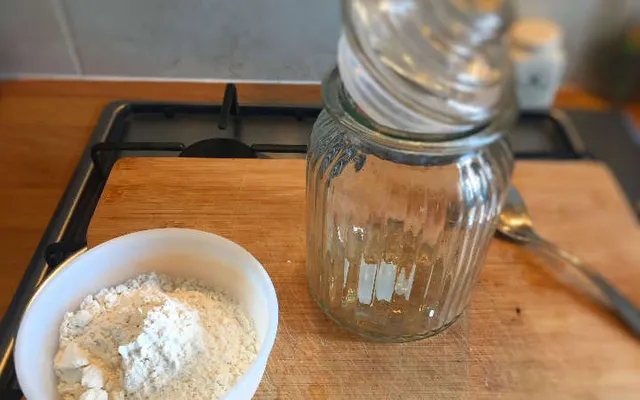 You start this process by adding flour into a jar, some sort of jar like a 1 litre glass storage jar or a Mason Jar with a lid will do the job nicely, add to this some tepid water and mix it together so that all of the flour is mixed into a paste.
Cover the jar loosely with the lid or a cloth and leave it to do its magic for 24 hrs.
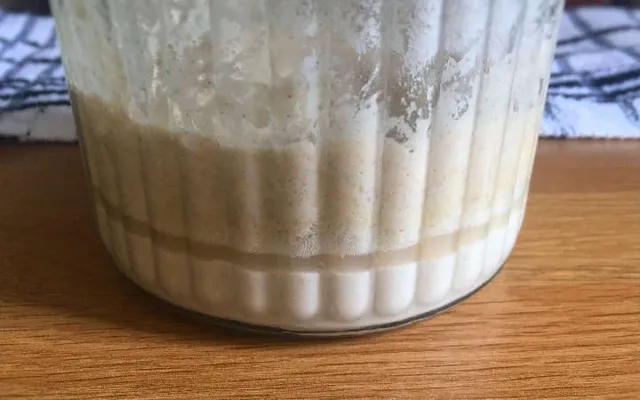
The mix should be the consistency of porridge :

Once this Yeast Paste has been made you need to look after your Sourdough starter, a bit like looking after a pet, only all it needs is feeding every day.
So what do we mean by Feeding ?
In order for this to work you need to feed the Sourdough Starter, how often depends on where you store your mixture. If you are an avid baker and bake daily you want to keep your Sourdough Starter at room temperature and feed it daily. Or if like me you only bake once in a while then you can keep it in the refrigerator and feed once a week.
To start off I suggest that you leave the Sourdough Starter Paste at room temperature and feed it every 24 hours.
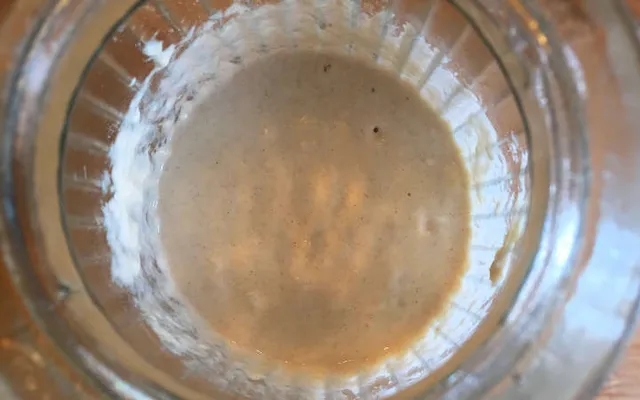 You should notice a few bubbles have started to form in the mix, but don’t panic if they haven’t as this could take another day. If they have then that is a great sign that your starter is alive
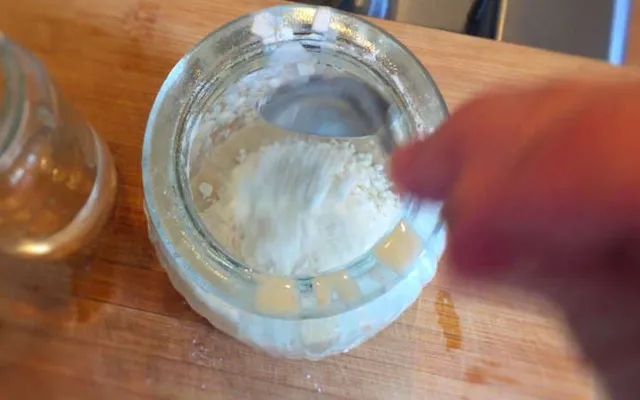
We can now give our starter its first feeding. To do this you will need to remove about ½ of the starter from the jar.
You could keep this to start another jar if you wanted to make this in bulk but most people just throw this away.
Then it is a simple case of adding another 120 g of Flour & 120 ml of Warm Water to the jar and mixing it all back in together. Cover this again and leave for another 24 hrs.
 So as you might have guessed by now this is basically going to be a repeat of Day 2, only you may notice a brown fluid has formed either in the middle of the starter or more often on the top. Don’t panic, this is normal and is called ‘Hooch’ and it is a good sign that it is feeding time.
You can leave the Hooch in the mix for the first time but remove it on Day 3 or 4 when you feed the starter.
You might also notice a pretty Foul smell coming from the starter, a smell that can only be compared to a boys changing room in your local rugby club or old gym socks. This is also nothing to be concerned about and is a good sign that your starter is very much alive and working.
So again remove half of the starter and replace it with 120 g of Flour & 120 ml of Warm Water.
By now you should have seen some growth in the size of the starter and it should be producing lots of bubbles and lots of smell as the yeast is fermenting.
Feed the starter in the same way you have been doing for the past few days by removing half then topping up the Sourdough Starter with Flour & Water.
The Foul Smell should start to ease off soon and produce a more traditional Yeast smell.
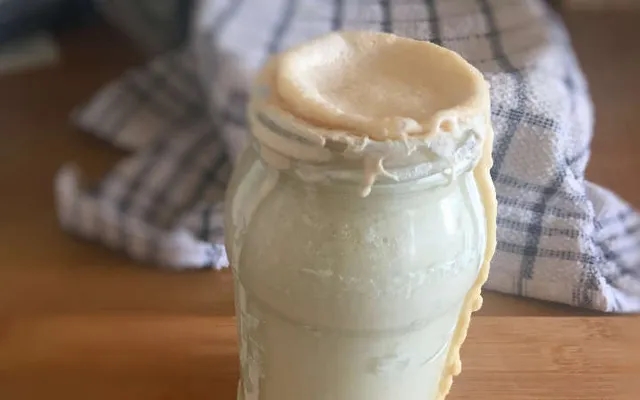
 Your starter should have doubled in size by now and may even have risen out of the top of the jar, this is normal and when the starter falls back in size and stops fermenting it is time to feed again.
You should notice a pattern forming here where the starter is very active then falls dormant (As if it is hungry)
It is this dormant period when it needs feeding, so feed again as you have done for the past few days.
You should also notice that it smells a whole lot better by now?
Your starter should now be the consistency of dough and a bit Squashy & Squidgy.
Transfer the starter into a clean jar and give your creation a name, I called mine Joey (From Bread)
How to Know When the Starter is ready to use
The starter should be spongy to the touch
 I keep my starter in the refrigerator covered with silicon or grease proof paper, as I don’t do that much baking and this makes it easier to care for as you only need to feed it once a week.
If you bake more often then you might want to keep it at room temperature, but you will need to feed it daily.
How to use the Starter :
The best rule to using this starter is to only use after you have fed it and it is bubbling this means it is active and ready to use.
Just take out the amount you want for the recipe, but don’t forget to feed the remaining starter with the amount you took out so that the process of fermentation can continue.